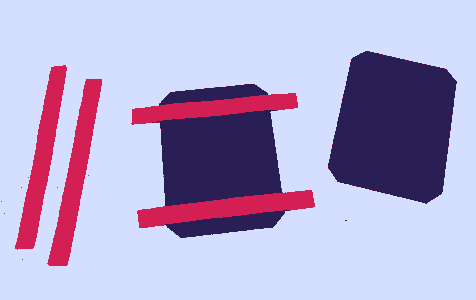
Peter made over one hundred of these, mostly with the students at the school, during first term. It seems helpful to post method of construction. The parts: two presentation cards, two cards for the outside papers, the outside paper covers (the skins), four ribbons, a miniature bank note and two rubber bands.
Start with one of the presentation cards on a flat surface. Positioning the ribbons needs to be done neatly as shown.
The two longer ribbons making the internal cross
The other presentation card carefully on top.
Four spots of PVA glue, for the diagonals one side and the short ribbons the other.
Carefully press the ribbon ends into the glue till they stay down.
Carefully turn the whole thing over without disturbing the ribbons in the card sandwich. It is helpful to keep gentle pressure on the top card to keep it in position.
Apply four spots of glue on this surface for the remaining ribbon ends.
Press these ribbon ends into the glue until they stay down. Check to see if the double hinge function is working by opening it both ways then set this aside to work on the other parts.
Carefully position one of the remaining cards on the 'pre-cut' outer skin.
Apply four spots of glue in the corners of the card.
Tightly fold the four corner flaps over onto the glue and make sure they stay down.
Apply four lines of glue for the four long flaps of the skin.
Fold these flaps tightly inward and onto the glue and make sure they stay down. Repeat this again for the other side of the wallet with the remaining skin and card.
Glue each outer cover onto the wallet body. Make a neat glue line just in from the edge such that the glue does not ooze out when pressed firmly.
If there is plenty of time, it helps to leave the finished wallet under a book for a good hour to let the glue mostly set.
This is a trick wallet because of its ability to open both ways. If the trick is performed correctly the money will magically appear on the other side.
If there is not a weighty book about to maintain the gentle pressure for a time, two rubber bands can be used instead. Job done.. well done.


